

Reading up on t-shirt quilting techniques I realized that there were quite a few people that didn't want to use the interfacing on the backs of the tees, which prevents stretching and makes sewing easier. The tees do take a more rigid feel once backing is applied. Instead of using interfacing, these adventurous souls were using liquid starch. They are dipping the tees into the starch and allowing them to dry, or putting them in the dryer. I was a little skeptical about whether starch would give me the same rigidity required to produce a clean cut and accurate squares, since most of the posts I was reading were not from professional quilters, but those that had decided to try a t-shirt quilt.

It's a little difficult to see the mesh, but it's there! If you'd like to make one too, here is what we used and what we did.
You will need:
24 cup hooks
6 drywall inserts
A drill
7 8' lengths of 3/4" PVC pipe
4 3/4" PVC t-connectors
8 3/4" PVC 90 degree elbows
2 boxes of prepackaged chandelier chain (or whatever you prefer as long as you can remove links for easier cutting)
Printed Duck Tape
1 Roll of Wildlife Netting (garden center at our store)

To make:
We cut each of the tubes in half, them put the long sides back together using the T-Connectors. This allowed us to put a brace between each of the long side to stabilize the rack and prevent sagging once the wet tees were put on.
We connected the ends using the elbows and the other halves.
My husband then drilled pilot holes in the top and bottom of each elbow and t-join on the top frame, offsetting the holes so that they weren't directly above or below each other, and on the tops of the bottom frame. We then put eye hooks into each of the pilot holes for the chains to hang from and from the ceiling.
He measured and drilled holes in the ceiling for the remaining cup hooks (which should be six) and put in drywall inserts to prevent them from pulling free of the ceiling.

Well, it worked. I decided I didn't like the dryer method, but laying the tees flat to dry DID produce a nice, rigid surface that will wash out once all the quilting is done, creating a softer quilt.
So where to dry out 20+ tees on a flat surface that would not cause damage to the surface? I needed to make a drying rack. I couldn't have the rack taking up floor space, as my once large crafting room is getting smaller and smaller. It would have to hang from the ceiling. And the surface would be so much better if it wasn't solid but made of a mesh to allow air flow. And big. Even cut to size 20 15" wide tees take up a lot of room! With my husband ingenuity, a little Googling, and a trip to the hardware store, this is what we came up with:

You will need:
24 cup hooks
6 drywall inserts
A drill
7 8' lengths of 3/4" PVC pipe
4 3/4" PVC t-connectors
8 3/4" PVC 90 degree elbows
2 boxes of prepackaged chandelier chain (or whatever you prefer as long as you can remove links for easier cutting)
Printed Duck Tape
1 Roll of Wildlife Netting (garden center at our store)
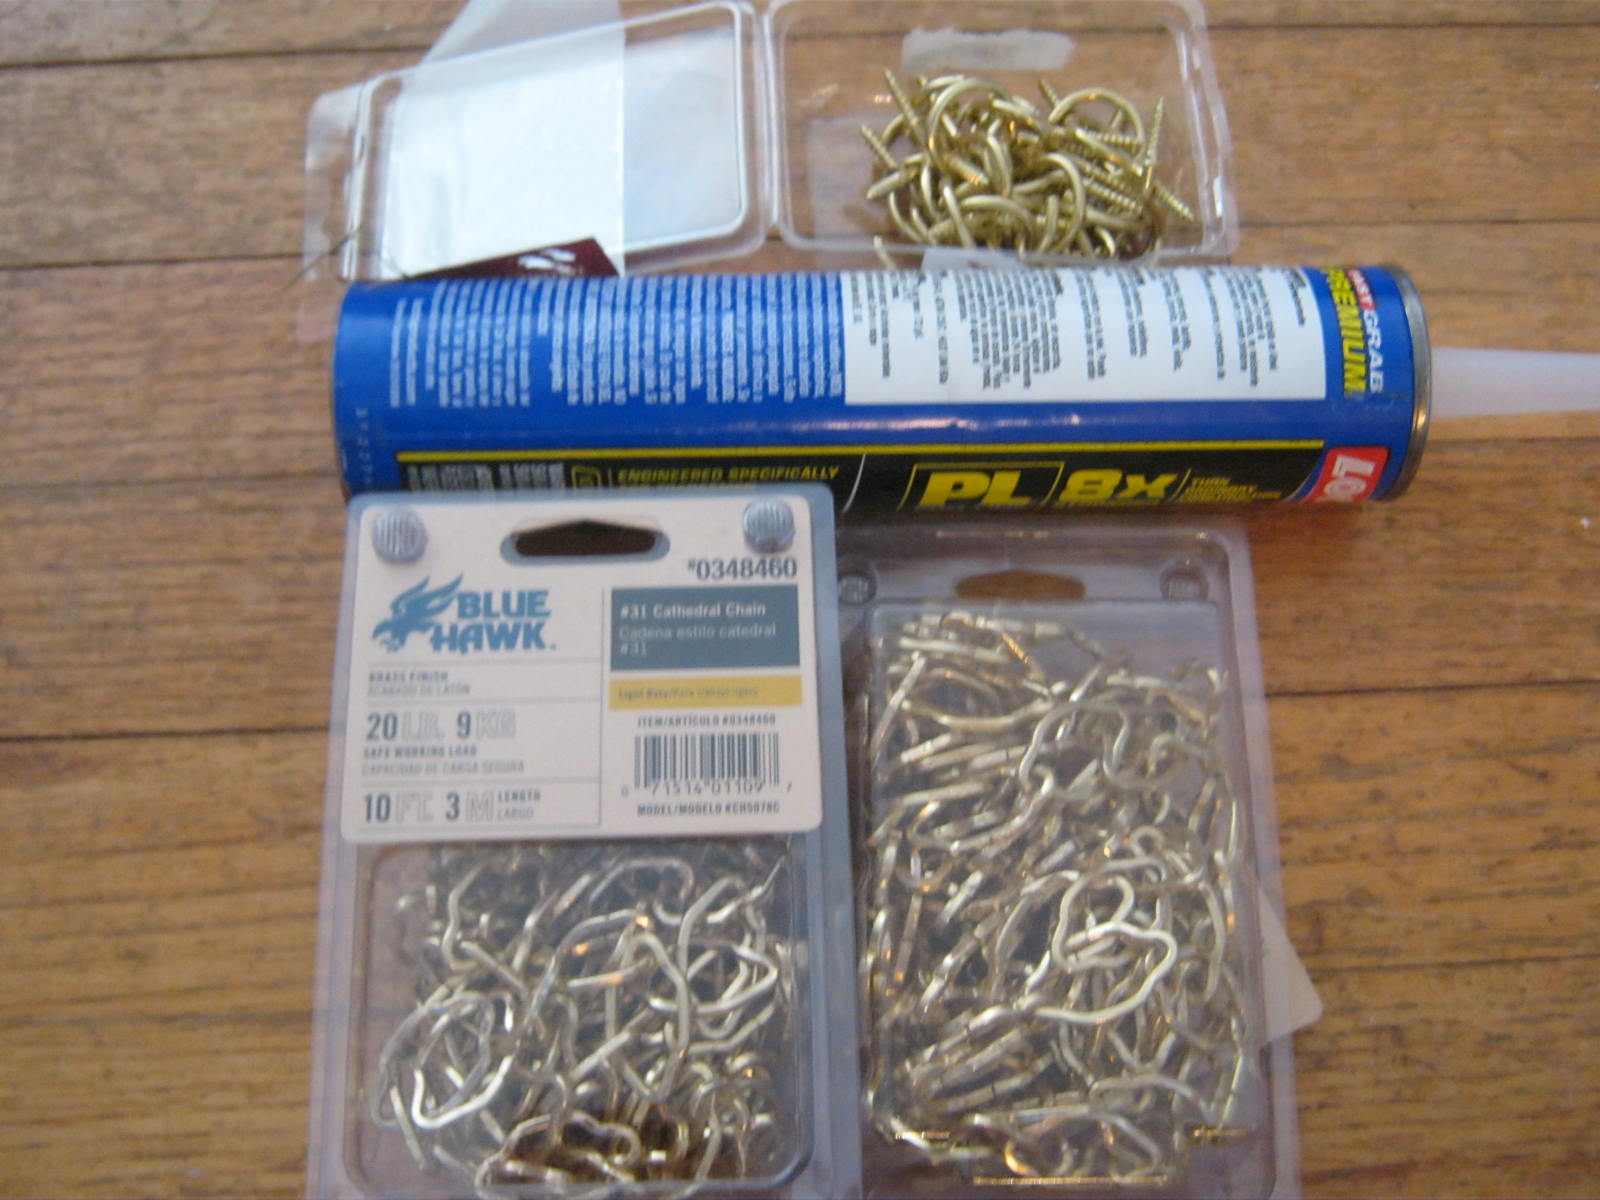 |
| Ignore the tube of silicon. We didn't use it because we used duck tape instead. See directions. |

To make:
We cut each of the tubes in half, them put the long sides back together using the T-Connectors. This allowed us to put a brace between each of the long side to stabilize the rack and prevent sagging once the wet tees were put on.
 |
| Tees and center supports |
 |
| Ends and Elbows |
 |
| pilot holes |
 |
| cup hooks |
It takes a bit of patience and two people, but we hung the racks from the ceiling and from each other using the chains. We measured the chains about 1' long. I wanted it to be adjustable and out of the way when I wasn't using it, so the chains help me to lower and raise it. This doesn't work very well, so I'm researching how to do it differently. However, the rack itself works great!
 |
| hung up |
Now for the fun part. This is where the netting and the duck tape come in. We stretched the netting between the sections across the width. To secure the netting, we cut it, then taped down one side with duck tape. We then stretched it taut and used smaller pieces to make sure it was evenly taut and flat. Then we taped it down by taping from the top down to the bottom and wrapping the netting onto the pipe. It worked wonderfully and nothing has come loose or pulled up. Besides, the zebra stripe tape adds a bit of flair and interest to the pipes!

This would make a terrific clothes drying rack for a laundry room, even on a smaller scale!


Way cool!!! I want to try starched T shirts in my next quilt, thanks for the info!
ReplyDelete