Welcome!

I craft! Spinning, sewing, knitting, quilting...it's all here, along with so much more. I just love making things and writing about them. I hope you'll join me.

Craftsy

Craftsy

Search This Blog

Showing posts with label tee shirt quilt. Show all posts

Thursday, June 13, 2013

Janome MC 8900 Review

A couple of months ago I purchased a Janome MC8900 from my local sewing machine store, Moye's in Savannah. I had started out to purchase the 7700, but my dealer bumped me up to the 8900 and gave me a great price on it! They retail for $4400, but I paid about half that. It's a long story, and unusual, so plan on paying at least $4k  for one! I love mine so much that I named it after a lady I truly respect, whose quilting, sewing, and crafty heredity has been passed on to me, my Grandma Bernadine. I just leave out the Grandma part, cause she's still very young. :)

The MC8900 is a real workhorse, geared toward people like me that do A LOT of quilting and sewing. It has over 11" of space to the right of the needle that provides plenty of room to roll up a king size quilt and finish it on a home machine. This machine is loaded with features from its 9mm stitch width and over 250 different types of stitches to its ability to change needle plates with the push of a button, auto tension, knee lift, 1000 stitches per minute, Accufeed flex (for those stubborn thick projects like jeans and 2" batting!), and so much more.

I have used my Janome for more than 4 months and I have had it tangle up on me one time. That's compared to my Brother hybrid (SE400) that I bought a little over a year ago that tangled up so much I became a machine repair expert! The tangle was actually caused from me not pulling the needle thread out to start sewing and I really knew better. I have finished everything from a twin to a queen size quilt on this without any problems. I am no longer afraid to do double sided t-shirt quilts with free motion embroidery. Even my stippling, which uses many different directional changes and can be hard on a machine, has come out beautifully every time with very little effort. This machine is truly made for quilting. I love my Janome and even with 4 months I have not had a chance to use everything that it offers. I am currently working on a log cabin block quilt made from jeans, t-shirts, and dress shirts. I have an order for a KitchenAid cover that will employ many other features of this machine. I'm looking forward to a long and happy relationship!

Full size quilt completed on Janome MC8900

Stippling

Double Sided Full Size Quilt on Janome 8900

So if you're looking for a high quality machine that is worth the money, I recommend the 8900. Janome also makes a hybrid sewing and embroidery machine, the MC9900 for those of you that want the best of both worlds. I do not own nor have I had the pleasure of using one (YET!), but you should check them out at your local dealer. 

Monday, March 11, 2013

DIY Drying Rack Tutorial

Reading up on t-shirt quilting techniques I realized that there were quite a few people that didn't want to use the interfacing on the backs of the tees, which prevents stretching and makes sewing easier. The tees do take a more rigid feel once backing is applied. Instead of using interfacing, these adventurous souls were using liquid starch. They are dipping the tees into the starch and allowing them to dry, or putting them in the dryer. I was a little skeptical about whether starch would give me the same rigidity required to produce a clean cut and accurate squares, since most of the posts I was reading were not from professional quilters, but those that had decided to try a t-shirt quilt. 

Well, it worked. I decided I didn't like the dryer method, but laying the tees flat to dry DID produce a nice, rigid surface that will wash out once all the quilting is done, creating a softer quilt. 

So where to dry out 20+ tees on a flat surface that would not cause damage to the surface? I needed to make a drying rack. I couldn't have the rack taking up floor space, as my once large crafting room is getting smaller and smaller. It would have to hang from the ceiling. And the surface would be so much better if it wasn't solid but made of a mesh to allow air flow. And big. Even cut to size 20 15" wide tees take up a lot of room! With my husband ingenuity, a little Googling, and a trip to the hardware store, this is what we came up with: 


 It's a little difficult to see the mesh, but it's there! If you'd like to make one too, here is what we used and what we did.

You will need:

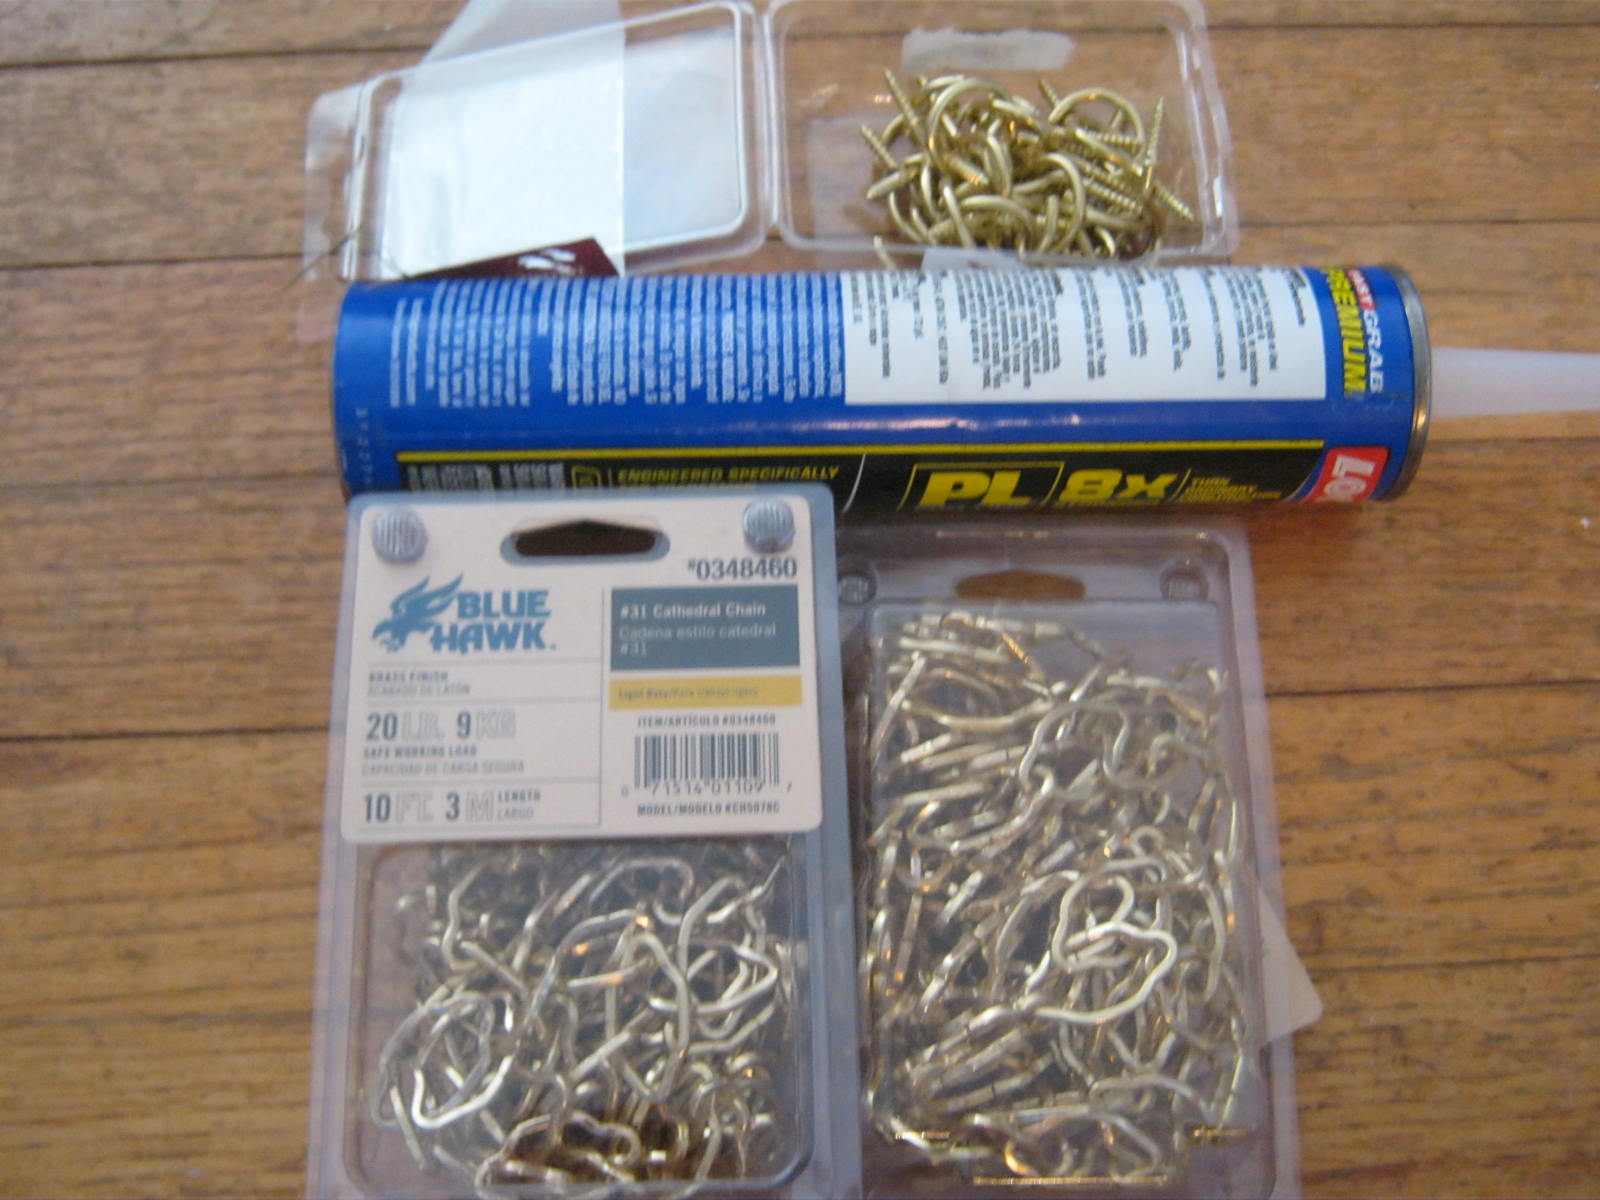
24 cup hooks
6 drywall inserts
A drill
7 8' lengths of 3/4" PVC pipe
4 3/4" PVC t-connectors
8 3/4" PVC 90 degree elbows
2 boxes of prepackaged chandelier chain (or whatever you prefer as long as you can remove links for easier cutting)
Printed Duck Tape
1 Roll of Wildlife Netting (garden center at our store)

Ignore the tube of silicon. We didn't use it because we used duck tape instead. See directions.


To make:

We cut each of the tubes in half, them put the long sides back together using the T-Connectors. This allowed us to put a brace between each of the long side to stabilize the rack and prevent sagging once the wet tees were put on.


Tees and center supports

We connected the ends using the elbows and the other halves.

Ends and Elbows

My husband then drilled pilot holes in the top and bottom of each elbow and t-join on the top frame, offsetting the holes so that they weren't directly above or below each other, and on the tops of the bottom frame. We then put eye hooks into each of the pilot holes for the chains to hang from and from the ceiling. 

pilot holes
cup hooks
He measured and drilled holes in the ceiling for the remaining cup hooks (which should be six) and put in drywall inserts to prevent them from pulling free of the ceiling. 

It takes a bit of patience and two people, but we hung the racks from the ceiling and from each other using the chains. We measured the chains about 1' long. I wanted it to be adjustable and out of the way when I wasn't using it, so the chains help me to lower and raise it. This doesn't work very well, so I'm researching how to do it differently. However, the rack itself works great! 
hung up
Now for the fun part. This is where the netting and the duck tape come in. We stretched the netting between the sections across the width. To secure the netting, we cut it, then taped down one side with duck tape. We then stretched it taut and used smaller pieces to make sure it was evenly taut and flat. Then we taped it down by taping from the top down to the bottom and wrapping the netting onto the pipe. It worked wonderfully and nothing has come loose or pulled up. Besides, the zebra stripe tape adds a bit of flair and interest to the pipes! 

This would make a terrific clothes drying rack for a laundry room, even on a smaller scale! 

Sunday, September 16, 2012

The Creative Process (or lack thereof) On Art Quilts

Dear you,

I started a comment game on my Facebook page (http://www.facebook.com/freckledots). Here are the details: So starting right now, continue to comment for a chance to win a custom designed wall quilt from Freckle Dots! This can be a tee shirt quilt or a pattern created original design. This is a $75 value. You'll have to give me some time to finish it, as I have 6 lined up in my commission line right now. You can comment as many times as you like, because the last comment on September 21, 2012 by 12 am will be the winner! Keep the conversation going!

I have been struggling with my "creative process." All of the books I've read say to "start with a drawing" and then use a fabric wall, layouts, samples, etc., etc. before beginning any quilt project. Well, in my business I am usually told, "This is what I want, can you do it?" and my reply is "Yes." Many times I'm given creative license on my commission, so I take it. But I have only ever drawn out one quilt, and it didn't work out the way I wanted it to. I went a completely different route with it and loved it.

My creative process involves seeing an image in my mind, then finding the fabric I want or going with "happy accidents." It also involves me cutting out the squares larger than I think I will need them, then adapting to make them more uniform. But I don't plan. I can't plan. It hurts. ;) Most of my quilts develop as they are made. It makes for frustration occasionally and redesign sometimes, but most of the time they come together quite nicely. I also never settle on a quilt stitch design or pattern until I actually have the top done.

So with that said, why do I beat myself up over the design process? Because all the experts say it should be done one way, and I just don't do it that way. Am I wrong? Not according to one expert. Bozena Wojtaszek from Lodz, Poland was featured in the recent edition (Summer 2012) of Art Quilting Studio magazine. The article "Translating Emotions into Art" was very thought-provoking when it came to her Creative Process section. Wojtaszek says that, "The one thing that is constant (and it always surprises my viewers) is that I don't start with drawing - I can't draw." (Art Quilting Studio, Summer 2012. "Translating Emotions into Art." Pg. 38, My creative process.) Well, now there was a hallelujah moment for me!

Wojtaszek goes on to say that she sketches a plan, but goes through "tons of pictures" and drawings to find elements and then relies on the fabric to go from there. My creative process isn't wrong. It isn't unnatural. It's mine. It works for me. I will also sketch an outline of my quilt and make notes on dimensions, piece sizes, sashing, and more to find what will work to get a good size out of my quilts. Then I look through various stitch designs to find what I love and what will speak best on the quilt. Sometimes it's as simple as an outline, other times it requires a free-motion design.

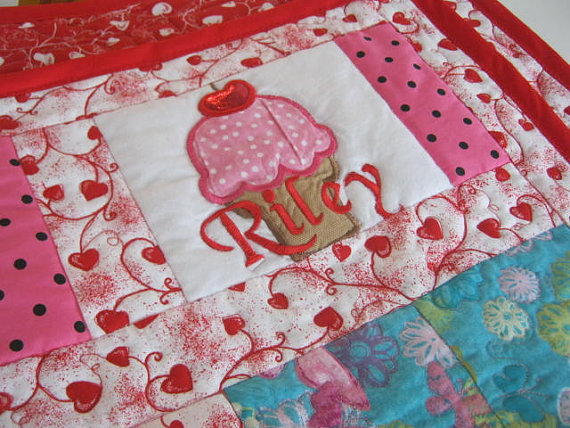
Most recently finished tee shirt quilt

Quilting was dictated by the heart pattern on sashing and outlining of images

More examples of outlined images


When I approach my art quilt for the first time, I think I will follow my original process. I will look at pictures that I take, approach it with an open mind and envision what I want. Then I will do an outline sketch with ideas and notes, but I'm not going to stress over it! The quilt will be what it and I want it to be. I don't think any creative process is wrong, as long as it reaches the desired results! IS  there a right or a wrong way in art? I think a lot of art snobs will tell you there is, but I concur to disagree. Happy creating.

Thursday, November 10, 2011

The End Result

Although it took a while, and a lot of time away from other things, I have finally finished my baby t-shirt quilt! 

This was my 15 minutes of fame on Facebook last night. I'm with a little group that buys and sells locally, and the mother of the child that I made the quilt for posted a picture of this on that group. I've now had about 6 different requests for t-shirt quilts. Now you might see that some of the lettering looks a little off center, but that is due to the way the shirts were cut. They were cut before I received them and I didn't have a lot of seam allowance on them, so I had to improvise. A few were lay in a little sideways. But it all worked out. The sashing and batting are turtles on a green flannel background. It was so soft I wanted to cuddle under it! 

The best part about doing this entire project was the joy and memories that the parents will get out of it. They will be able to pass it on to him and he to his children. To know I was a part of that makes me nearly giddy! 

If you would like to contact me regarding making a t-shirt quilt, just email me and we'll talk! Now I'm off to do some more cutting and planning, since I have 2 more on the roster right now. I never really thought of myself as a "quilter", but sometimes the best things to happen to us are not the things we plan. 

Craftsy

Craftsy

LinkWithin

Related Posts Plugin for WordPress, Blogger...